Home Grown Hops - Part 1 of 3: How to get started and what to expect in your first year.
Are you a home brewer wanting to grow your own beer hops? Maybe a farmer, looking to experiment with a new crop? No matter what your inspiration is, here is a quick guide for the first year and helpful hints to get you started on your hop growing adventure.
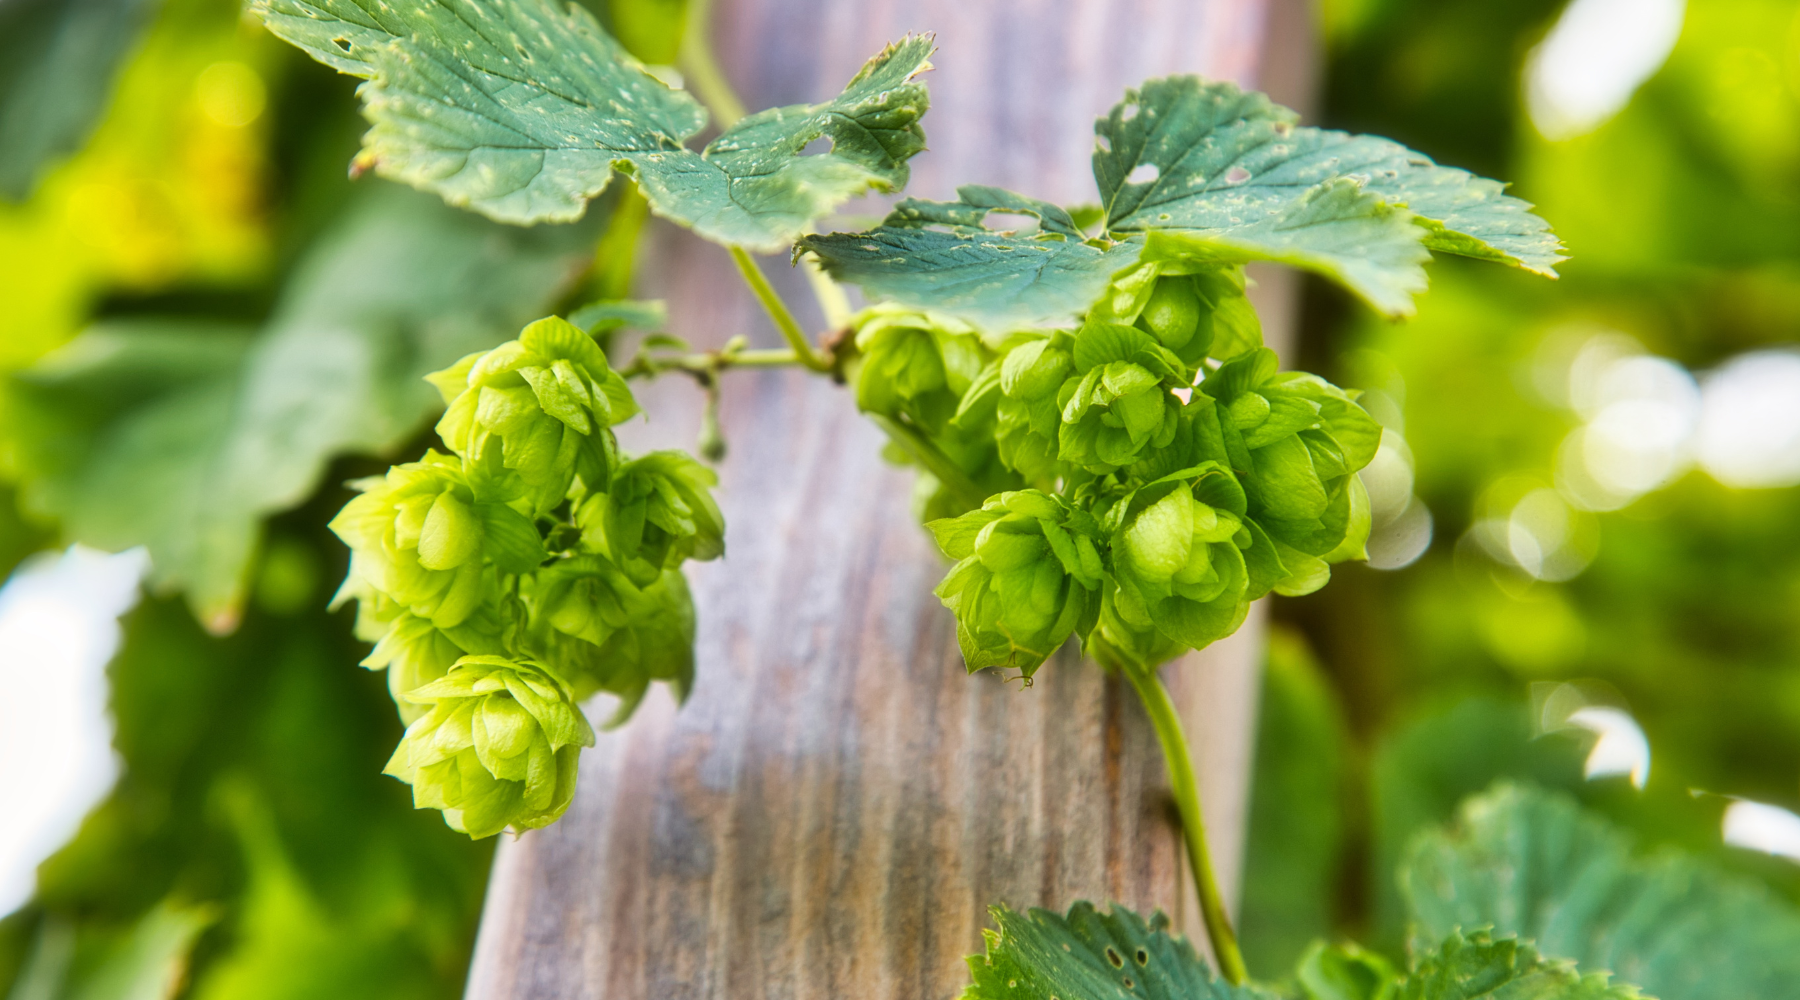
What are Hops?
‘Hops’ refers both to the plant and the cone it produces: Hop plants (Humulus Lupulus) are members of the Cannabaceace family, making them a cousin to Cannabis! They are a highly vigorous, herbaceous climbing plant with annual above ground shoots, and a perennial sub-ground root system. Hop cones are formed from the flower that the female plant produces, which provides stability, bittering and aroma to beer. The hop cone can be used fresh (often referred to as wet hop), dried whole cone or dried and pelleted, for long term storage. Outside of beer, there are other applications hops can be used for - medicinally, aromatically (soaps & lotions) and even culinary - but for the purpose of this guide, we are going to stick primarily beer hops... because, We Grow for the Beer!
How do you start growing a hop plant?
Hop plants are most often started as a rhizome, vs a seed or tissue culture because it offers faster establishment than vegetative propagation, as well as the assurance that you are planting only female plants. Why do you want that assurance? Because females are the only ones capable of producing flowers, which turn into hop cones. If a male plant is present, it will produce pollen, which will pollinate the female’s flowers, creating a seed inside the cone that will take away from brewing values and oils. So, the only time a grower would include a male plant is for breeding, either to create a new variety or to improve on an existing variety.
Now, what is a rhizome? A rhizome is an underground piece of root, that includes shoot buds or nodes. They are planted with the shoot buds pointed up, in either a pot or directly in the soil. You must wait to plant your rhizomes until the last risk of frost has passed, so if you want to get a head start, start them in pots, indoors. Alternatively, rhizomes can be kept slightly damp in a bag, in the fridge, until you are ready to plant outdoors. DO NOT FREEZE.
What are some things to consider first?
Before choosing where to buy rhizomes or plants, there are some questions you need to answer first. What are you growing for? What varieties grow well in your climate? Do you have a long or short growing season? Where will be the best place to plant in your space? While online ordering for rhizomes is popular and many nurseries offer potted hop plants, we strongly suggest talking to a local grower. They will have the expertise and know-how that may be the difference of success or failure in your new growing adventure AND they may also offer rhizomes from their established plants!
The location of where you plant is a crucial part of the the decision making process - here are some reasons why:
- Hop plants are perennial and can have a 25-30 year life span.
- They require vertical growing space, with a supported trellis system.
- Hop plants are not the pickiest grower but they do best in a sunny south facing location and well draining soil with a ph between 6.0 & 7.5.
- They also prefer to grow between the 35th and 55th Parallels, due to average daylight hours being optimum for triggering cone production. (click here to find yours - the latitude will tell you the Parallel number for your location)
- Hop plants take 3 years to reach full maturity, so picking the right spot the first time will save you from restarting all over again!
- As with any plant, water access for irrigation is always a factor.
You’ve picked the perfect spot, chosen the variety and got some rhizomes, now what?
In your newly chosen spot, it’s time to set up system for your bines to grow up. That isn’t a misspell - hop plants have bines, a type of vine that grows in a very specific way. A hop bine climbs by curling and twisting around a support to grow skyward, and the tiny hairs on the bine help it stick to the support. Some varieties can reach heights of over 20 feet, by the time of a mature harvest! Commercial hop yards usually construct trellis systems using large 6-8 inch diameter poles, wire cables and coconut fibre twine. Home growers working with fewer plants often get creative with their trellis systems, utilizing buildings and existing trees to string their plants. It is important to remember that the plant will become heavy and can topple over if your construction is poor. You can find hop growing supplies (such as coconut fibre twine) at many Home Brew stores and nurseries, or ask your local grower where they source theirs.

Now, it’s time to get planting! Place your rhizome 2 - 3" deep in the soil, with the shoot buds pointed up and cover loosely with soil. If you have more than one rhizome, plant them at least 3 feet apart. If your rhizomes are different varieties, plant them at least 6 feet apart to keep the roots from tangling (so you know what variety of rhizome you are harvesting, if you choose to grow/sell/give away plants in the future, when your plants mature). Water gently but thoroughly and cover lightly with mulch, to help the soil retain moisture while the rhizome begins to establish itself. You don’t want to let the soil dry out while the plant is establishing its root system, so light, frequent watering is recommended but do not over water. A pro-tip is to keep the soil wet enough that when you grab a handful of soil, it slightly sticks together but does not crumble or leak excess water. It will take a couple of weeks to see growth above ground, so just be patient.
Trellis up, plants in and growing... what’s next?
If your plant now has shoots 12" long or more, it training day! That’s right, hops need a little encouragement to get climbing on your structure. With your trellis system up, and twine (2 twine lines per plant) staked into the ground beside your plant (no further than 6" away from the plant growth), it’s time to make some choices. You need to pick 3 or 4 shoots per line - of the same length and vigour - to start training up the twine lines. This consists of gently wrapping the shoots clock-wise around the twine, preferably on a warm day when the plants are more elastic. The reason you must train clockwise, is because the bines grow while following the sun throughout the day! A pro-tip for picking the right shoots is to not pick the biggest ones, as those are considered ‘bull shoots’ and due to growing too quickly are often hollow, leading to a very weak bine and lower cone yields. As the shoots mature and grow up the line, they are now considered a bine. Keep an eye on your plants through out the growing season, sometimes they need a little refresher to keep climbing correctly. Once your bines have about 6 feet of growth up the line, cut away any excess shoots at the ground. This will improve airflow to the plant and focus more nutrients to the upward growth. It also aids in better disease management - more on that shortly!
Set and forget?
Nope! Watering is a big deal for a hop plant, during the first year as they get established they have a small root system and must be monitored frequently. Ground irrigation using pipes or soaker hoses are highly recommended. Watering from above or using sprinklers that wet the bines in the air, are discouraged as they can promote mould and mildew to form. Constantly damp plants, means a very high increase of risk to your plant AND your crop. Remember: A pro-tip is to keep the soil wet enough that when you grab a handful of soil, it slightly sticks together but does not crumble or leak excess water.
Fertilizing is usually done in 2 applications, 1 in late spring and 1 in early summer, to promote vigorous growth to the bines and roots. The fertilizer you use is be dependant on the soil you have and the needs of the plant, combined. Your soil may be low in a certain nutrient or mineral, so you may need a higher content of that in your fertilizer - you can determine the needs of your soil by a test kit, available at many garden centres and retail outlets. A single mature hop plant requires 72 grams of Nitrogen, 80 gram of Potassium, 40 grams of Phosphorus, 0.5 grams of Boron and 2 grams of Zinc.
And of course... insect and disease control! Commercial growers usually spray their fields to keep the risks low but how you handle it will be up to you. However, knowing what to be on the look out for is half the battle. In the disease category, Powdery and Downy Mildew - here in the Fraser Valley, Powdery Mildew has always been a significant issue. In the insect category, Aphids and Spider Mites - infestations can damage or kill the entire plant, so always check your plants and have a plan.
Your first harvest, all hands on deck?
Harvest time in Canada is usually between mid-August and mid to late-September, as it is both climate and variety specific. Cones are generally considered ready to harvest when the outer petals have become dry and papery and the cone is fragrant. But for a first year plant, the showing can be a little lack luster and the plants themselves are not that large. The primary work for the plant has been to create an established root base and get itself above ground. With that work done, it’s unlikely to have more than a small showing of cones. Additionally, they are unlikely to have the same development of lupulin (the acids and oils that give hop varieties their distinctive qualities) as that of a more matured plant, with 2 -3 seasons of growth. That being said, the process to get your plants ready for winter remains the same.
Time to cut! When your cones look ready to pick, lay out a tarp for the bines to land on and grab some garden shears. Cut the bines about 3ft above the base of the plant and pull them down to the tarp. Note: It is recommended to wear long sleeves and pants for this job, the hairs on the bines are very scratchy and can irritate the skin for hours. If you are keeping the cones, you can now pick them from the bines and transfer to a drying rack - being careful not to over load, you must ensure space for each cone to have airflow. Set the cones on the screens with a fan or set them in the sun, to dry - this can take a couple of days. Alternatively, you can use a standard food dehydrator, - taking care to not over dry the cone - keeping the temperature between 120 F and 140 F, overnight. Once your cones are dry and the strig (the central stem or axis of the cone) is no longer spongy, simply vacuum pack and place in the fridge or freezer. Oxygen can negatively affect the quality of the cones, so making a few smaller packages is better than 1 large one that will be reopened, over and over.
Housekeeping?
Ensuring the cleanliness of your growing area is important for the health of your plants! Any disease-free plant matter - bines & leaves - can be composted and used as nutrient-packed food for next year’s growth. If you do have some diseased plant matter, the garbage or a burn pile is the best place for it. Not properly removing it can affect your plant in the following year and risk the disease spreading to other susceptible plants in the area.
That concludes your first year of growing!
Stay tuned for our next instalment, Part 2 of 3: 2nd year plants and an in-depth look at drying and processing techniques. Cheers!
Leave a comment